Our web design process, simplified
We’ve built 50+ websites.
Whether it’s a one-page portfolio site or a large enterprise one, here’s the exact design process that we follow 👇🏼👇🏼
1) Step 1 – Project requirements
What will the site contain? What pages and functionalities do we need? What sections will these individual pages contain? etc.
For example, say we need to design an agency site. We’ll map out the following pages:
– Home
– About us
– Contact us
– Services
– Individual Service details
– Previous Projects and Case Studies
– Individual Case Study Details
– Blog Home
– Individual Blog Post
2) Step 2: Moodboard/Design References
Once we’re clear on what all pages will be included in the project, it’s time to find various design references to refine our style better.
We’ll go through hundreds of different site designs to see what we like and what we don’t.
By the end of the mood-boarding session, we should be clear on the kind of “vibe” that we’re going for with our product.
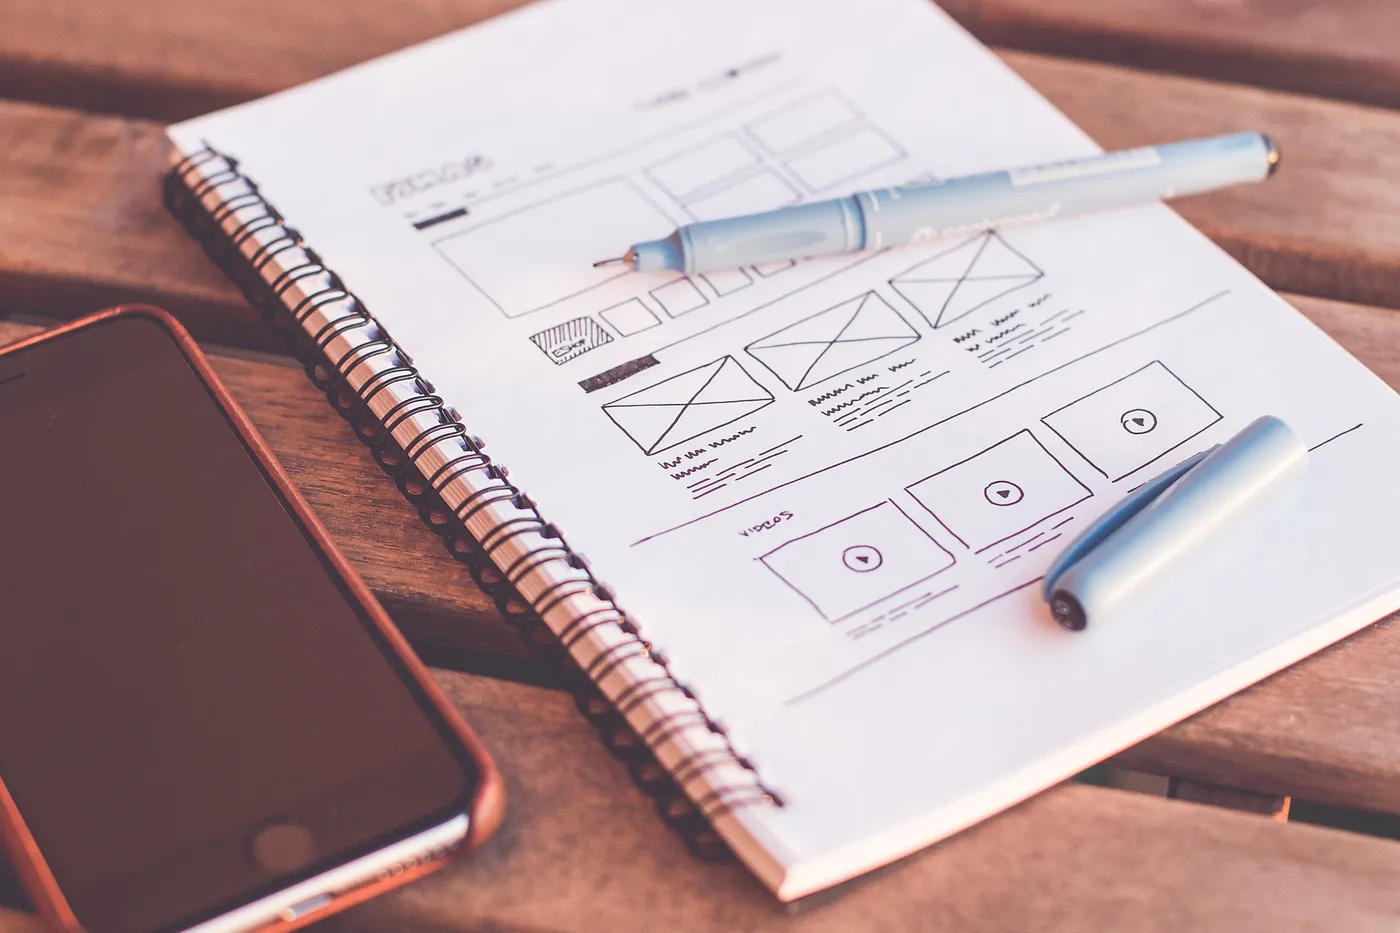
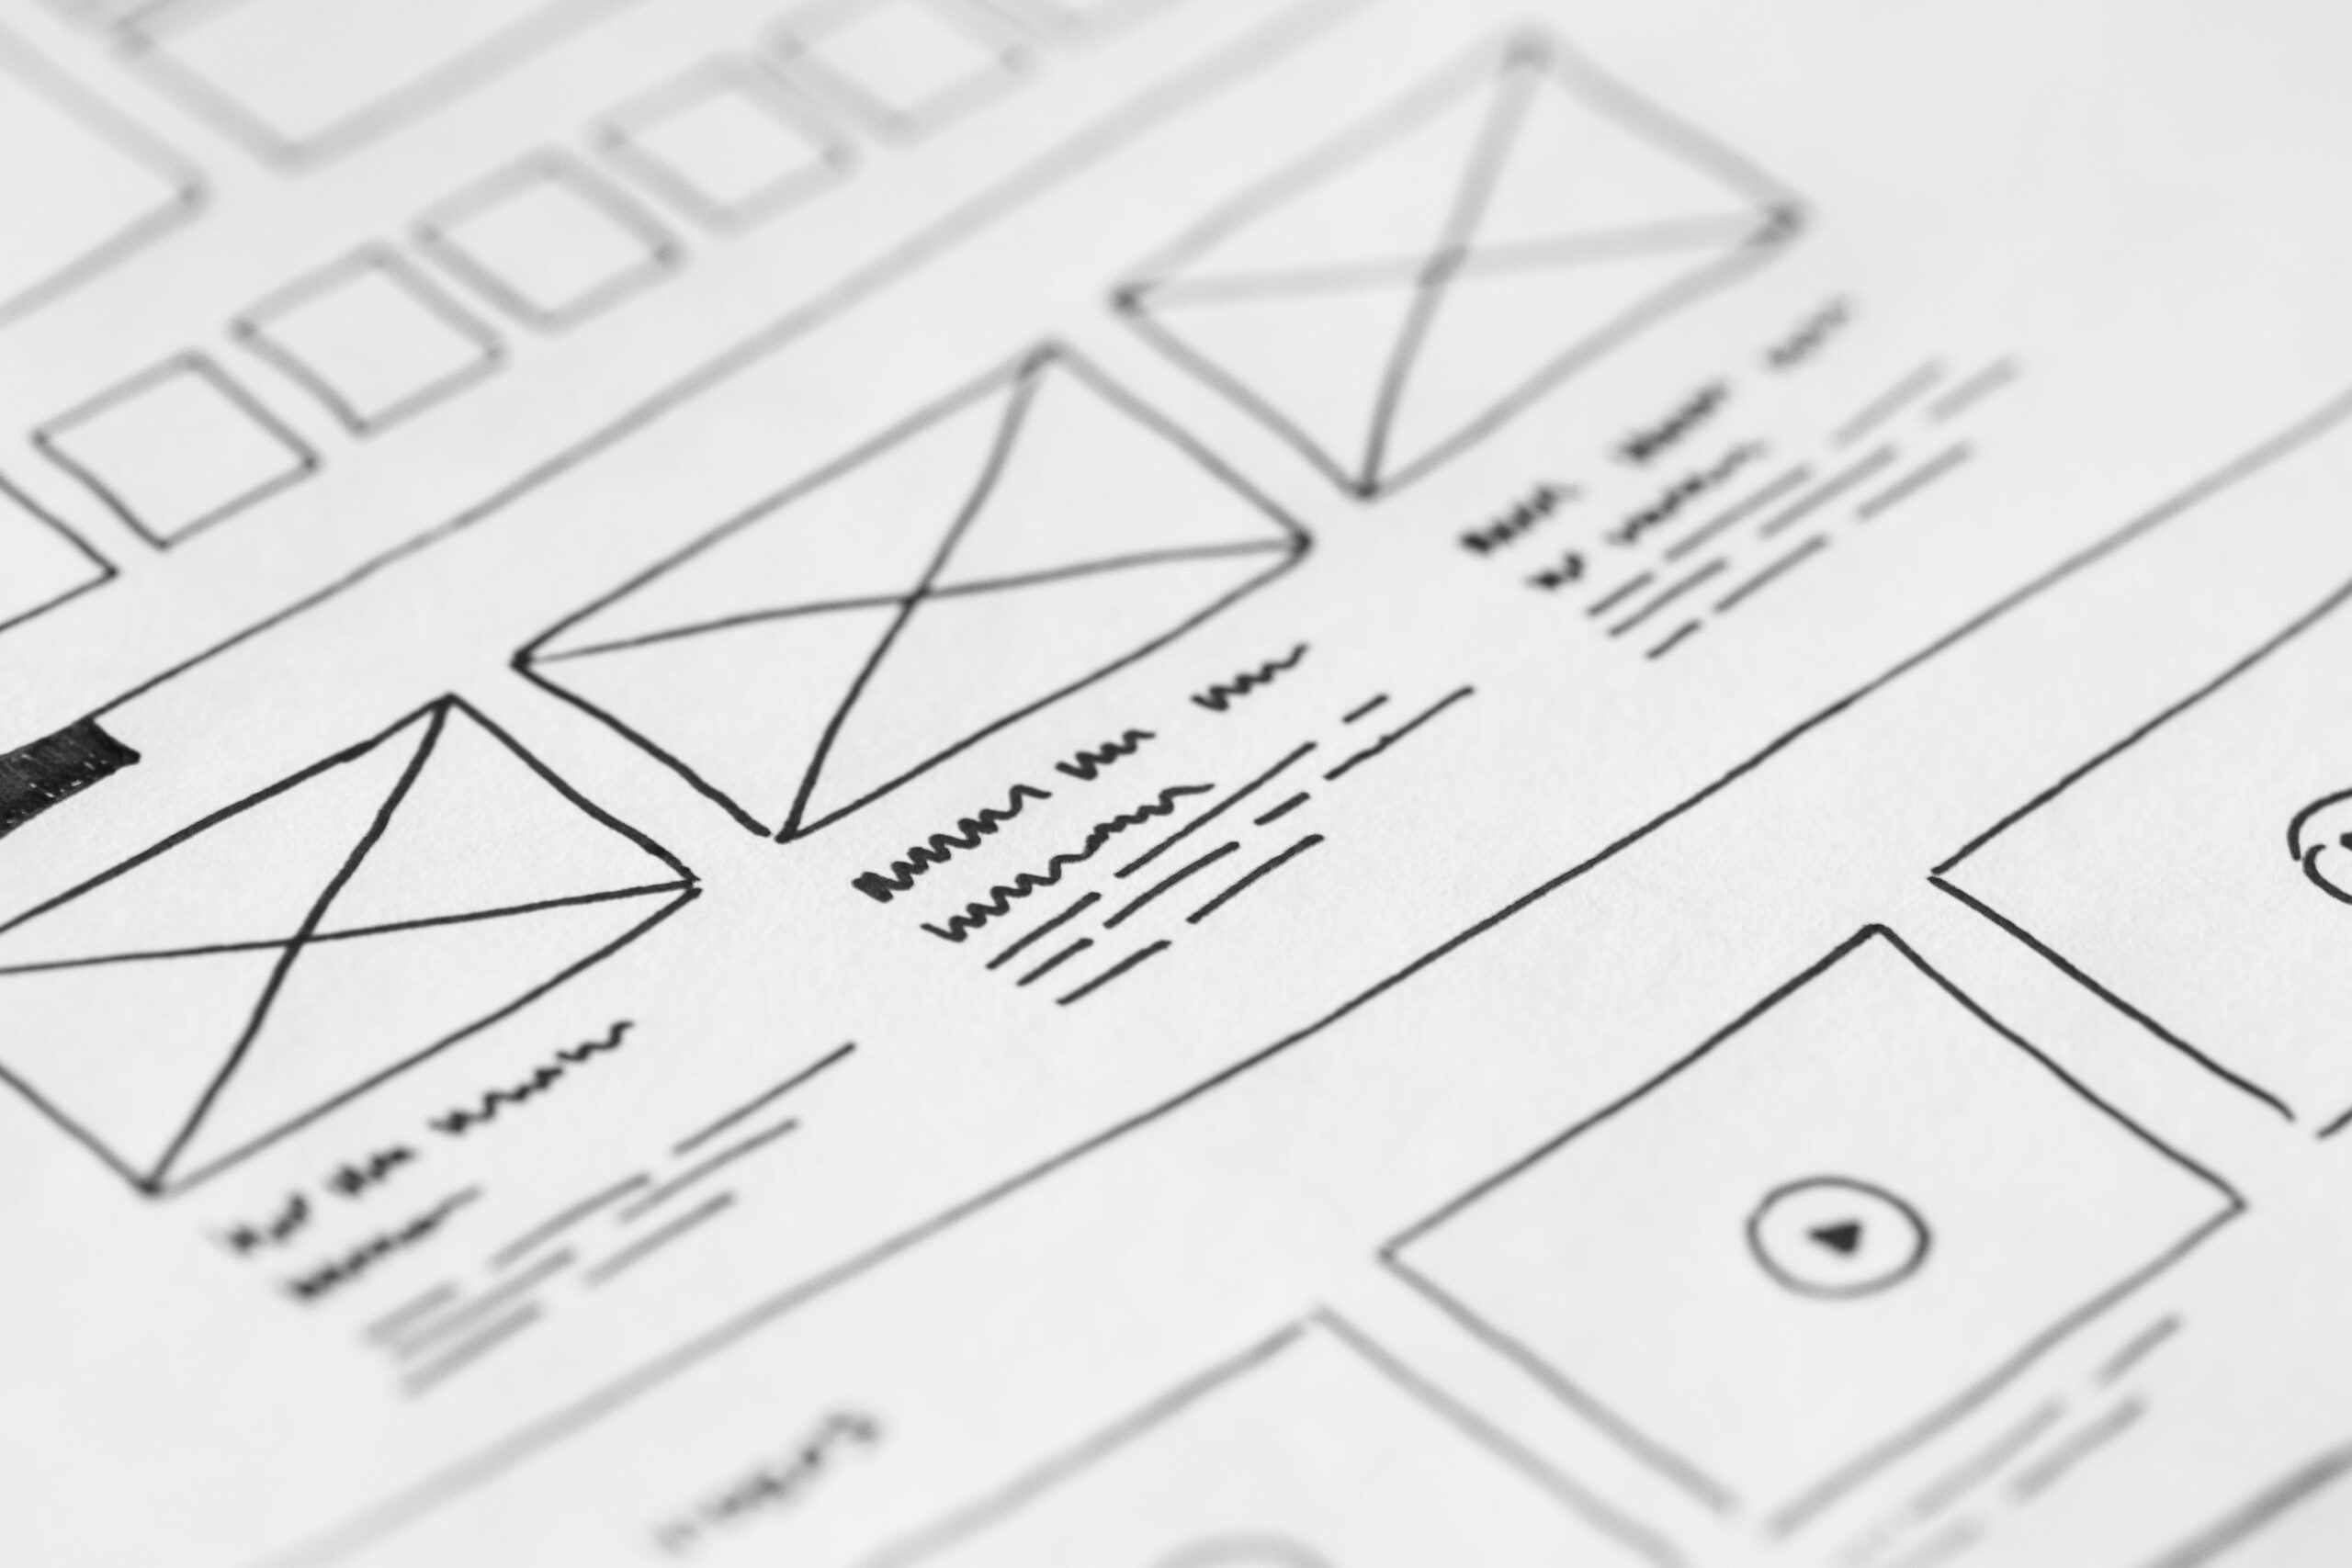
3) Step 3: Wireframes
Once we’re clear on the mood board, it’s now time to build the rough structure of the website. This rough structure is called a wireframe.
It helps us visualize what will the overall site look like, where will the main buttons be placed, which sections will show what, etc. Think of it as a skeleton for our site.
4) Step 4: Content
Once we’re done with the wireframes, it’s now time to write our site content.
This site content will focus on our unique capabilities as an agency and our value propositions while showcasing previous projects and achievements.
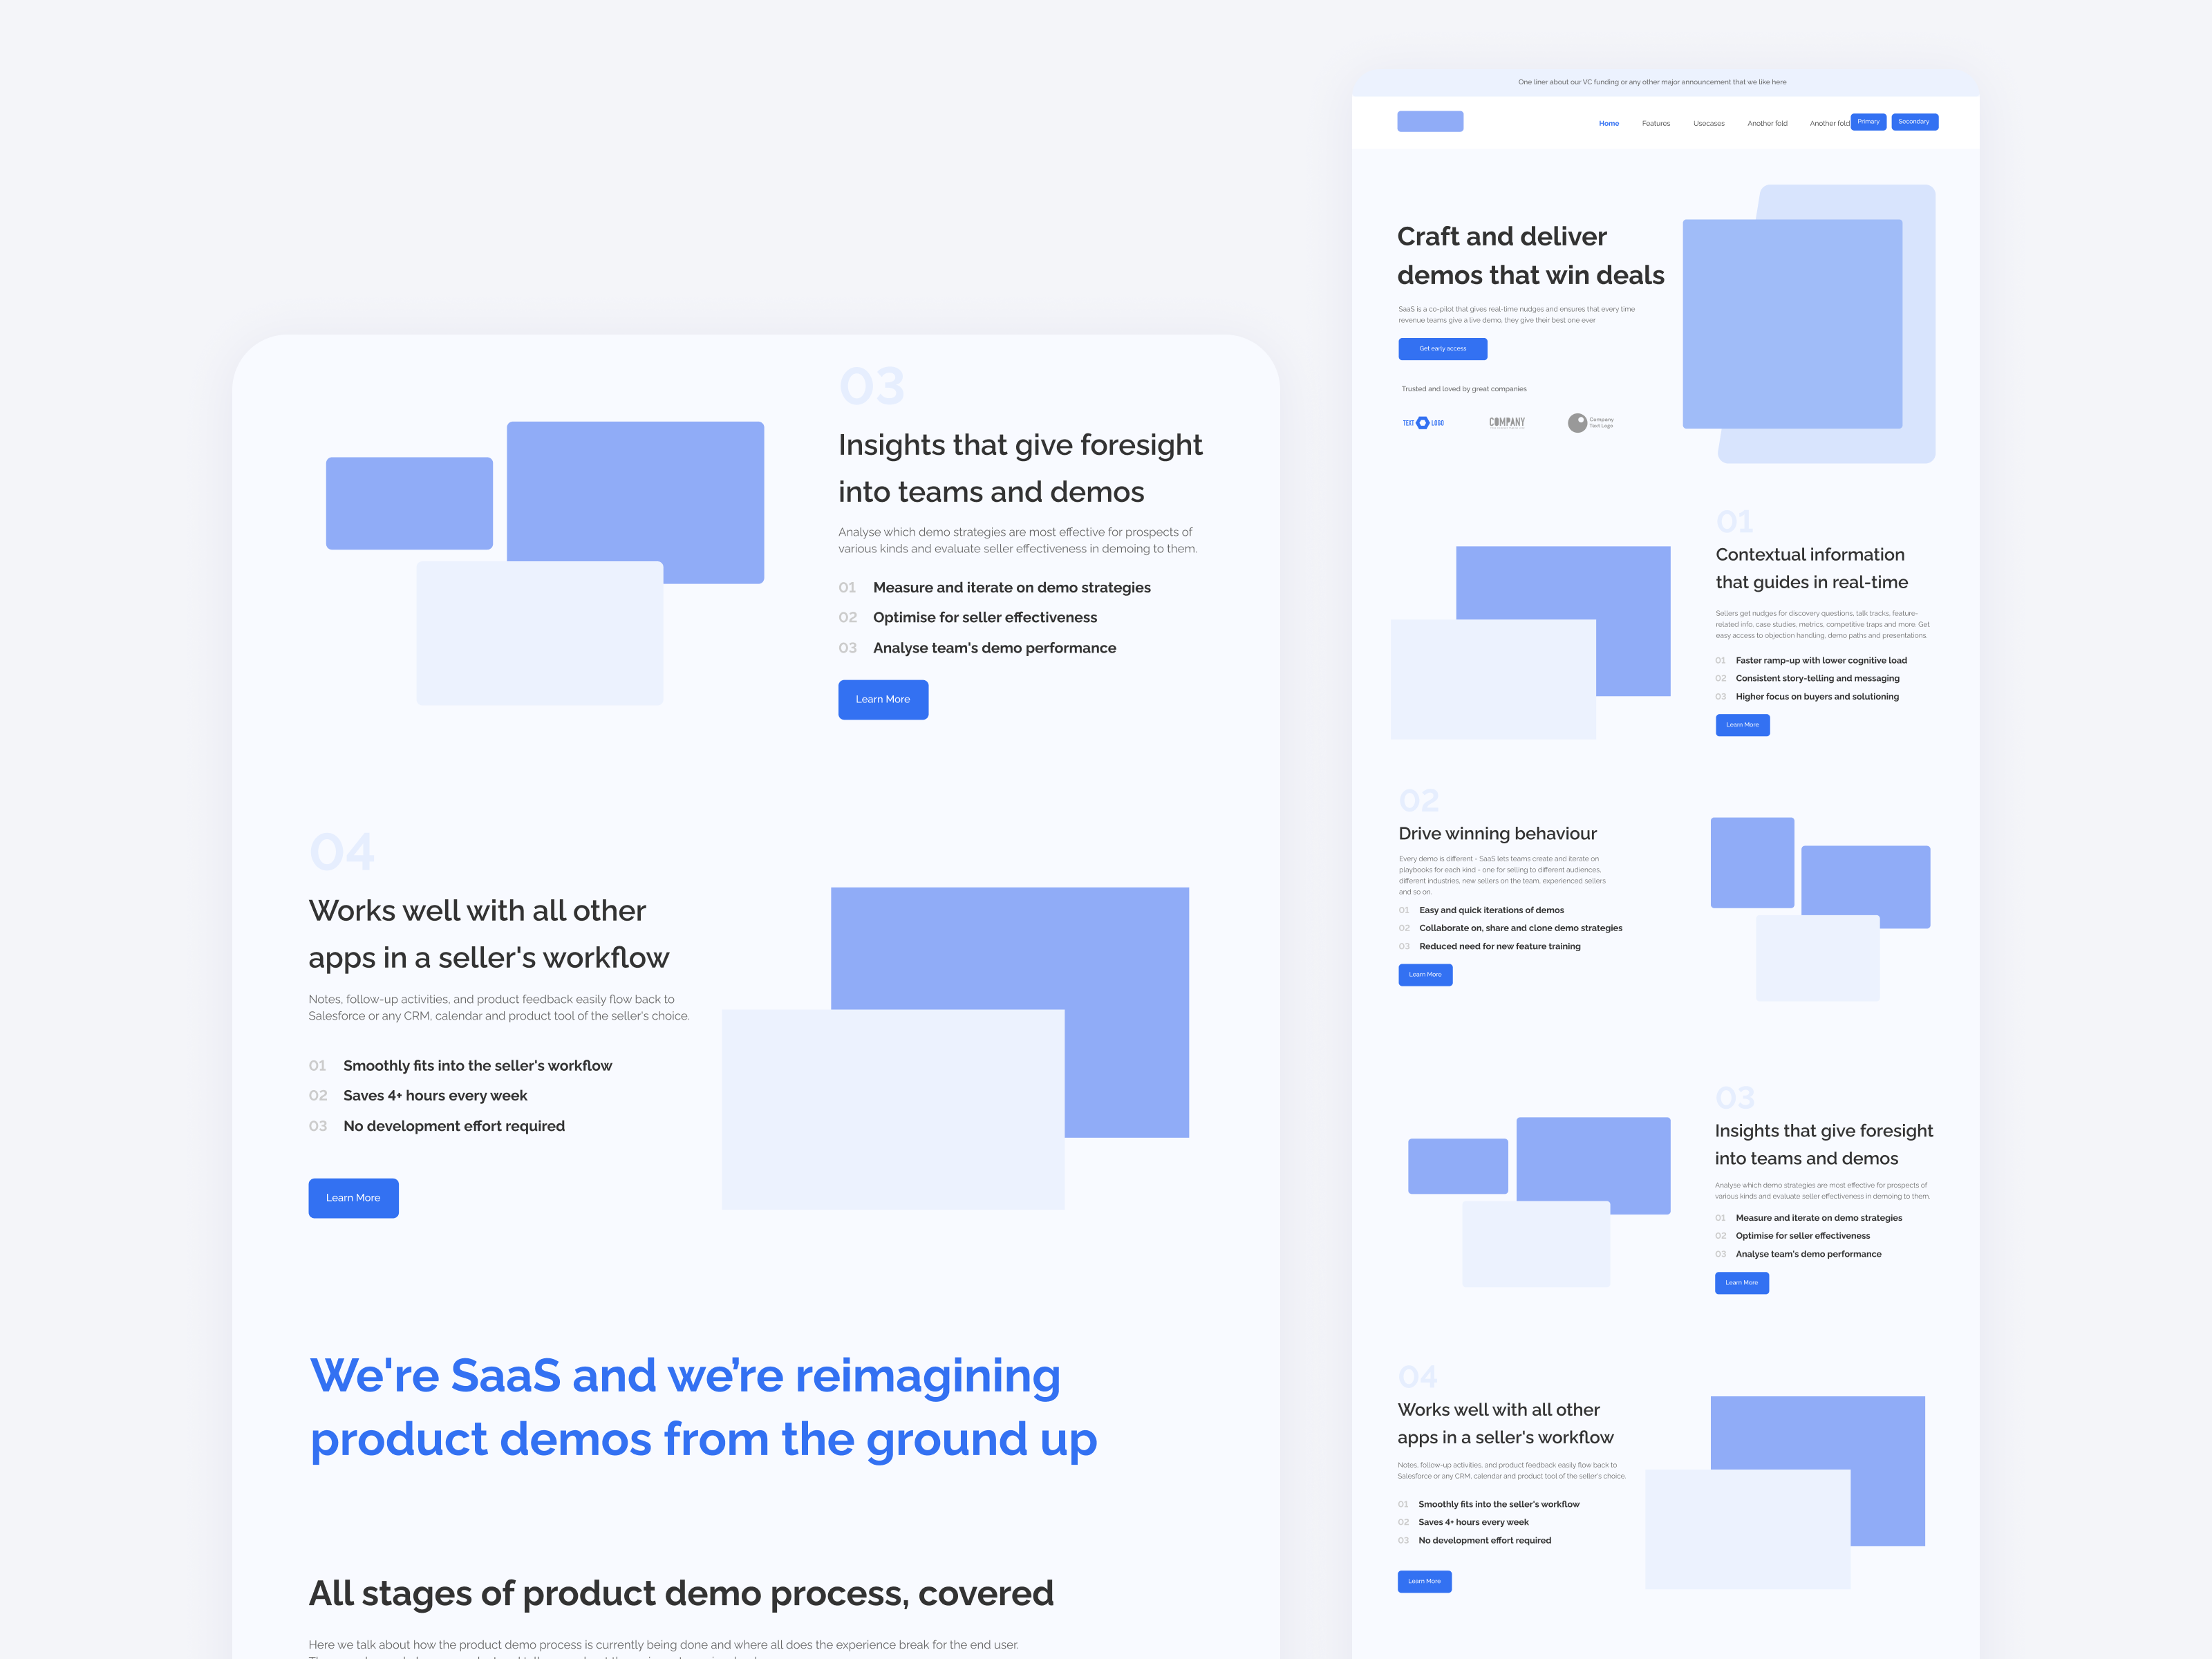
5) Step 5: Visual Design
By this stage, we have the site skeleton (wireframes) and content already in place. It’s now time to work on the visuals.
This stage will focus on the overall look and feel of the project. Our typography, images, illustrations, and all other visual elements will be worked upon here. (When you think of “design” in day-to-day conversations, usually this is what you’re referring to)
6) Step 6: Animations
Once the visual design is ready, we’ll then work on different animations and micro-interactions involved in the product.
You’ve seen those cute loading animations on different sites as you scroll down? All of that is done during this stage of the project.
7) Step 7: Development and testing
Once the animations are done, it’s now time to code the site and make it launch-ready.
By this stage, you can already visualize your site on different devices and have 100% clarity on what the end product will look like and behave.
8) LAUNCH!! The final stage of the project.
– – – – – –
This is a highly simplified version of the entire process but we hope this helped you understand how things work in the background.